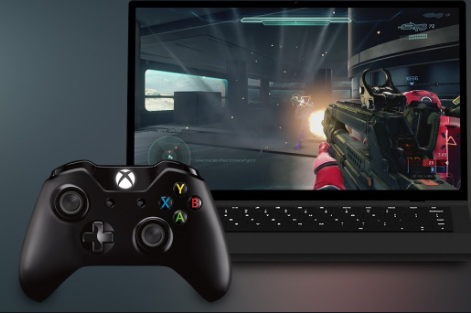
Among the versions of Microsoft Windows, Windows 10 is the gamers favorite choice, for a lot of them it could be because the recent games being developed most times require a DirectX 12 graphic display compatibility, and that’s exactly what Windows 10 offers. Besides the DirectX 12 display, this Operating software gives gamers the effects that most game developers want to achieve. However, to enjoy your gaming experience using Windows 10, you would have to optimize it for the great experience you want to achieve. Here’s how to go about it.

Switch To Game Mode
Game Mode was recently added to the Windows 10 system to provide some features that would interest gamers. To turn on the game mode, Go to your Windows settings or Press the Windows key +1 and type “Game mode” into the search box. Next click on “Game Mode Settings” and you would observe a list of items. Click on “Game Mode” and on the right part of the page, click to turn on the “Game Mode”. This is a popular way of optimizing your Windows 10 for gaming but it isn’t the only way.
SEE ALSO >>> Facebook Avatar Guide: Learner’s Manual For Creating Facebook Avatar With Ease
Adjust Your Settings
There are different settings on your PC that affect your gaming experience, that you may not have taken note of. By following the next steps, you can successfully adjust your settings for a better experience, and you would definitely notice the difference.
- Adjust Your Visual Effects; Go to your Windows settings or Press the Windows key +1 and type “Performance” into the search box. Next click on “Adjust the appearance and performance of windows” and select “Adjust for best performance” and click on “Apply” at the bottom of the page. Go to the top of the page and click on the “Advanced” tab. Select “Programs” under “Adjust for best performance of”. Click on “Apply” to save and then click on “OK”
- Use Alarms Only While Gaming; Go to your Windows settings or Press the Windows key +1. Click on “System”, next on “Focus Assist”. In the Focus Assist tab, select “Alarms Only” and exit your settings.
- Change Network Settings for Faster Internet Speed; Go to your Windows settings or Press the Windows key +1, type “Network and internet” into the search box and click on it. Next click on “Change” and then “Adapter Settings”. Right-click on the wireless network and click on “Properties”. Choose “Internet Protocol Version 4”. You can take note of the existing codes, just in case you may want to switch back. Clear them and type 1.1.1.1 and 1.0.0.1 respectively. Click on “OK” and then “Close”. After you restart your browser, you would notice the difference in your internet speed.
- Check to install DirectX 12; To do this, open the “Run” dialog by pressing “Windows” and “R” on your keyboard at the same time. Type “dxdiag” and click “OK” to confirm if the DirectX version you have running is DirectX12, as will be displayed in the information. If it isn’t DX12, then proceed to install DirectX 12 version.
RECOMMENDED >>> How To Make Facebook Posts Shareable


