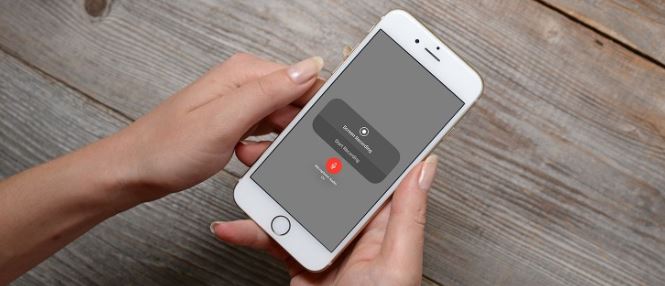
How to Screen Record With iPhone – for some time now, we’ve seen some tech companies introduce screen recording into their gadgets. Being able to record your phone screen has proven to very useful in different ways. You no longer have to be present when you want to learn something form someone else’s phone or vice versa.
Apple also introduce this feature in its device. Depending on what you want to do for instance you have a blog where you post video tutorials for iOS or you want to create you own YouTube channel strictly for iPhone how-to videos.
Here’s how to screen record on iPhone.

How to Screen Record on iPhone
Only iPhone that run on iOS 11 and above can use the screen record tool. All you have to do is:
Step 1. Activate the Screen Recording Tool
Before you can use this tool, you’ll need to enable it in Control Center:
⦁ Open Settings and select Control Center.
⦁ Scroll down and click on More Controls.
⦁ Screen Recording is available there.
⦁ Click the Plus icon and drag it to the top under the Included Controls header.
Step 2. Begin to Screen Record
⦁ Head to Control Center.
⦁ Click on Screen Recording button and a three second count down will appear so you can prepare the video you want to record.
⦁ If you want to capture audio while recording your screen, long-press the button and then tap the Microphone Off icon to turn it on.
⦁ You can turn on Do Not Disturb to prevent popup notifications from interfering with the screen recording.
Step 3: Stop Your Screen Recording
⦁ What you need to do is tap the red clock or red bar at the top.
⦁ Confirm you want the recording to stop by tapping Stop.
⦁ You can also tap the Screen Recording button in Control Center again.
iPhone Screen Recording Apps
Since the screen recording feature is only available for users with iOS 11 and above, then you want to give third-party apps a try that are compactable with iPhone.
⦁ Tech Capture
Tap the red button at the top of the app to start a recording and then select Start Broadcast on the next screen. If you want, you can turn on the microphone to record audio as well. To stop recording, tap that red bar and select Stop. You’ll see a notification that your screen recording was saved.
You can see your recordings inside the app, and transfer it anywhere you like. Select an option from Camtasia, Snagit, TechSmith Relay, or one of your device’s sharing options.
To download: TechSmith Capture
⦁ Record It! Screen Recorder
This app works the same way Tech Capture works. To start a recording, tap the red button and then select Start Broadcast on the next screen. Again, you can turn on the microphone if you would also like to record audio with your screen.
Record it! also offers a nice video editor for you to trim your recording, change the canvas size, add background color, and more.
To download: Record it! Screen Recorder
⦁ DU Recorder
On DU Recorder you can start by tapping Record to Local Device if you want to save the recording to your Photos. Then tap Start Recording, select DU Recorder, and choose Start Broadcast.
Click on the red clock or bar to stop your recording. DU Recorder offers extra features as well, including live streaming to YouTube, Facebook, and Twitch.
To download: DU Recorder.
ALSO READ>>>>What Does It Cost to Use Zoom?


